
From planning and design to construction and materials, we'll walk you through every step of the process to help you replace your trim and doors.
Step 3: Install Your Trim
Required Tools:
- Stud Finder
- Set / Combination Square
- Measuring Tape
- Painting Supplies
- Utility Knife
- Pry Bar
- Putty Knife
- Mitre Saw or Saw and Mitre Box
- Coping Saw
- Safety Glasses
- Sand paper or Sanding Block
- Nail Gun
- Dust Mask
- Ear Plugs
- Pencil
- Drop Cloth
- Pneumatic Nail Gun and/or Finishing Nails
- Hammer and Nail Set
Installing your trim can be a daunting task, but with the right tools and know-how it can be a great way to update your home.
Here are some tips to keep in mind when installing trim:
- Measure twice, cut once. This is a very important step for trim because missing a mitre cut can ruin the appearance of your new door or wall.
- Take accurate measurements and write them down. This may sound simple but it is extremely important to take accurate measurements and to remove the margin for error.
- Always buy an extra piece or two of your trim, it can often be returned if it is still in original condition and it beats making an extra trip to the lumber yard on the day you are installing your material.
- Determine how you want to install your trim, and familiarize yourself with the process. Some trim can be installed with glue, others require nails. Contractors tend to prefer nail or staple guns however they are not cost effective if you are finishing only one or two rooms.
- When installing trim a good level is recommended. A short level may be useful in some tight spaces but a larger level, between three and six feet long, is recommended for leveling jambs and chair rail.
- Investigate coping versus mitering. Both options are viable for making corners in baseboards and crown mouldings, but coping creates a better fit if the wall is not perfectly square.
- When installing all new trim in a room be sure to install the casing and backband first, followed by your baseboard, installed tightly against the casing edge.
- If you are going to install shoe mould do so after any new flooring is installed, this will cover unsightly gaps and improve the look of your room.
- Crown Moulding cuts can be a challenge. Each corner must have a ‘compound mitre’ cut. It is a good idea to buy extra crown moulding and practice so you can understand how to make these cuts.
- Chair railing is best installed using a level chalk line mark or a laser level system, utilize tape to create a temporary layout to help with measurements and aligning the railing on the wall.
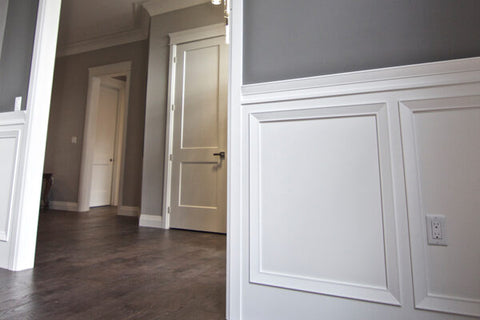
- Panel Moulding, can accentuate a room. The most difficult part of panel moulding is the layout. Use painter’s tape to roughly lay out the project. Take plenty of time to measure, and centre your panel moulding to ensure they are spaced evenly.
- Feature Walls are a trend that is gaining popularity, whether shiplap, or geometric patterns a feature wall can add a statement to your space.

Visit your local Turkstra Lumber and speak to your Build-It-Better coach and they will help you with your specific trim installation questions.
How To Install Door Casing
How To Install Baseboard
How To Install a Door Jamb
Metrie Shiplap Installation
How To Install Panel Moulding
How To Install Crown Moulding

Visual Learner? We get it.
We get it. Turkstra TV is full of helpful videos to get you up and running on your next home improvement project.

Our Coaches have your back
Need help? Talk to our professional coaches - it's free.
Get preferred pricing & exclusive promos with Build-it-Better.
Receive exclusive, members-only discounts on select products each month! Sign Up for Free >
