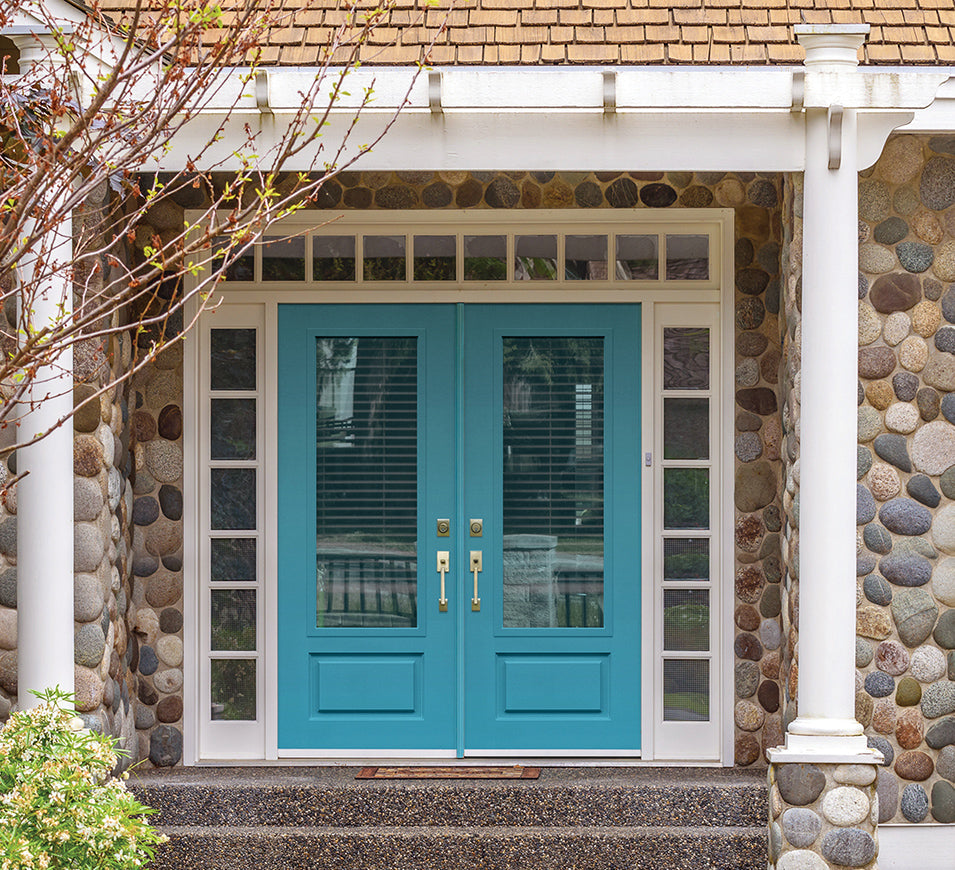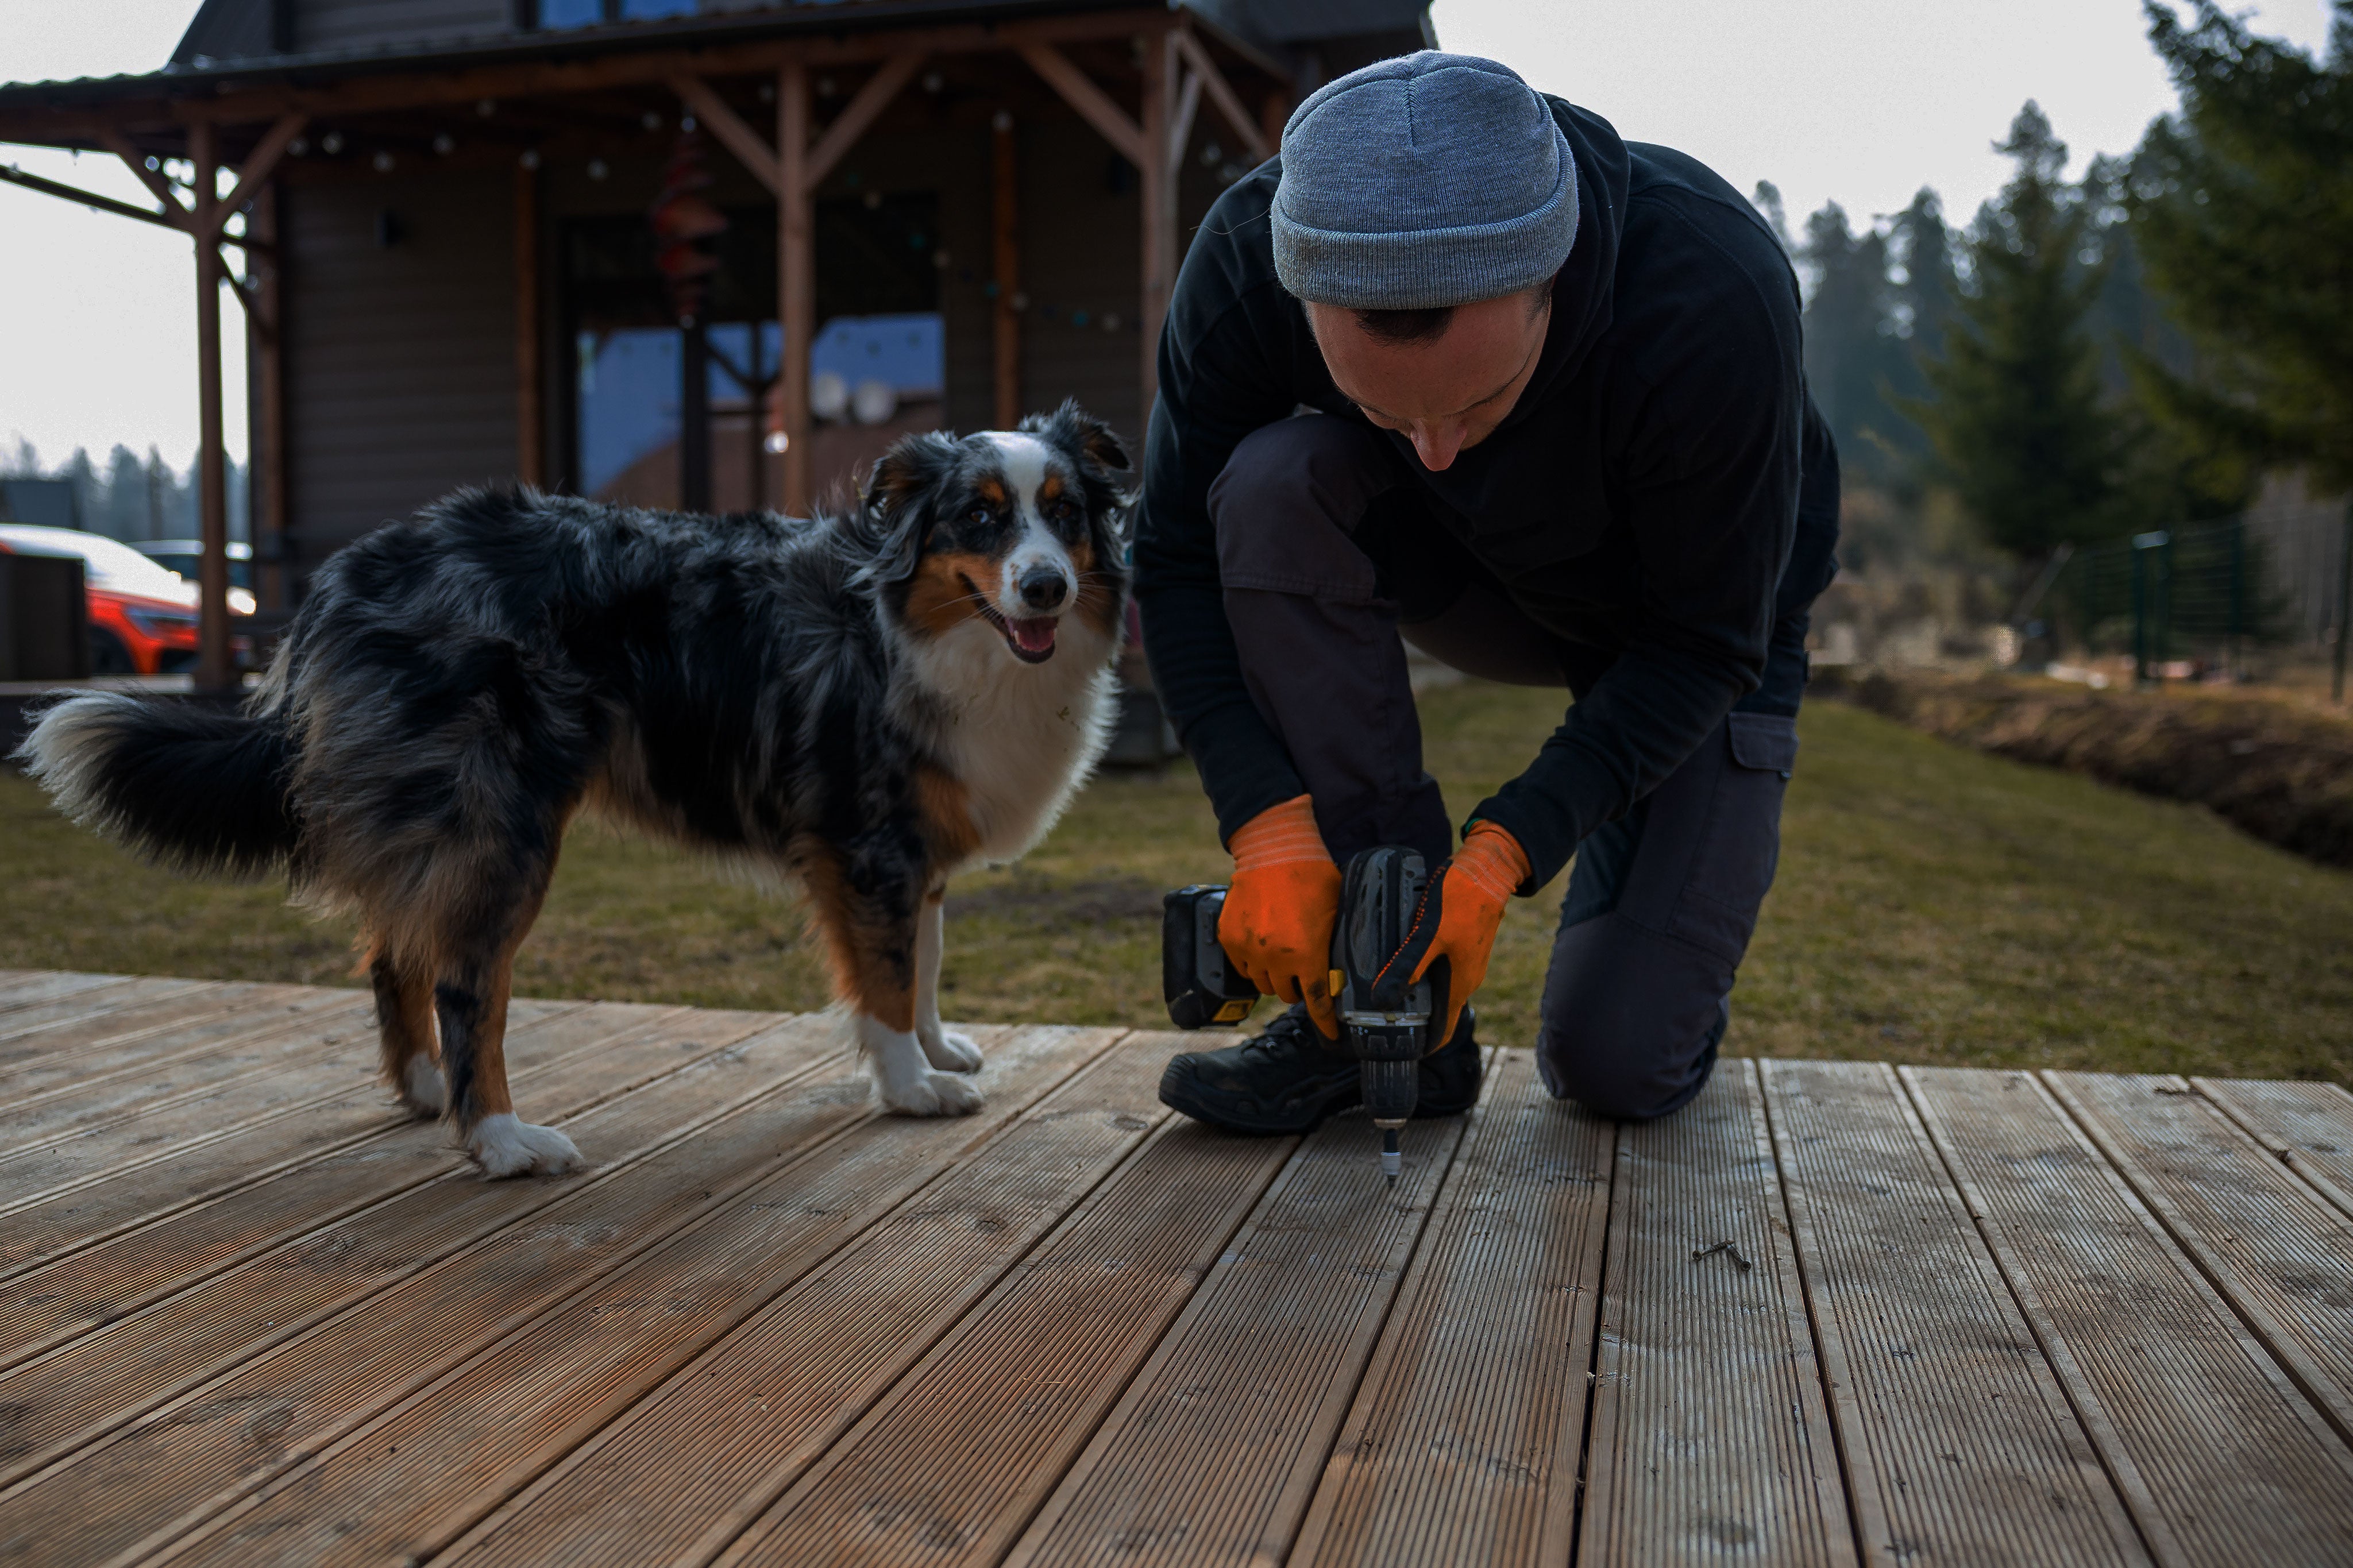
From planning and design to construction and materials, we'll walk you through every step of the process to help you install your new exterior doors.
Step 1: Install Your New Door
The installation procedure is basically the same as most other pre-hung doors. In some cases, a split-jamb door may be required for thicker walls, because they install from both the interior and exterior of the house to sandwich the wall between the split jamb.
Plumb the hinge side of the door first, using shims as necessary. It’s especially important to use shims behind the hinge plates. Once the hinge side is plumb and fastened securely, do the same to the latch side. Install wood shims for a snug and plumb fit. After the door is fastened in place you can cut away the extra shim material with a utility knife.
Drive a screw through the open hole in each hinge to anchor the door frame and prevent sagging.
Before installing the door, wrap the rough opening in flashing. For ground level doors, a sill pan is recommended. With continuous aluminum flashing beneath the sill, use some flexible adhesive flashing around the top and sides, lapping it over the surrounding sheathing and tucking it behind the siding.
Apply sealant around the brick mould to give the door a weather-tight seal. Now you may place the door and frame into the rough opening to finish installing the door.
How To Install an
Entry Door
How To Replace
an Existing Door

Visual Learner? We get it.
We get it. Turkstra TV is full of helpful videos to get you up and running on your next home improvement project.
Our Coaches have your back
Need help? Talk to our professional coaches - it's free.
Get preferred pricing & exclusive promos with Build-it-Better.
Receive exclusive, members-only discounts on select products each month!

