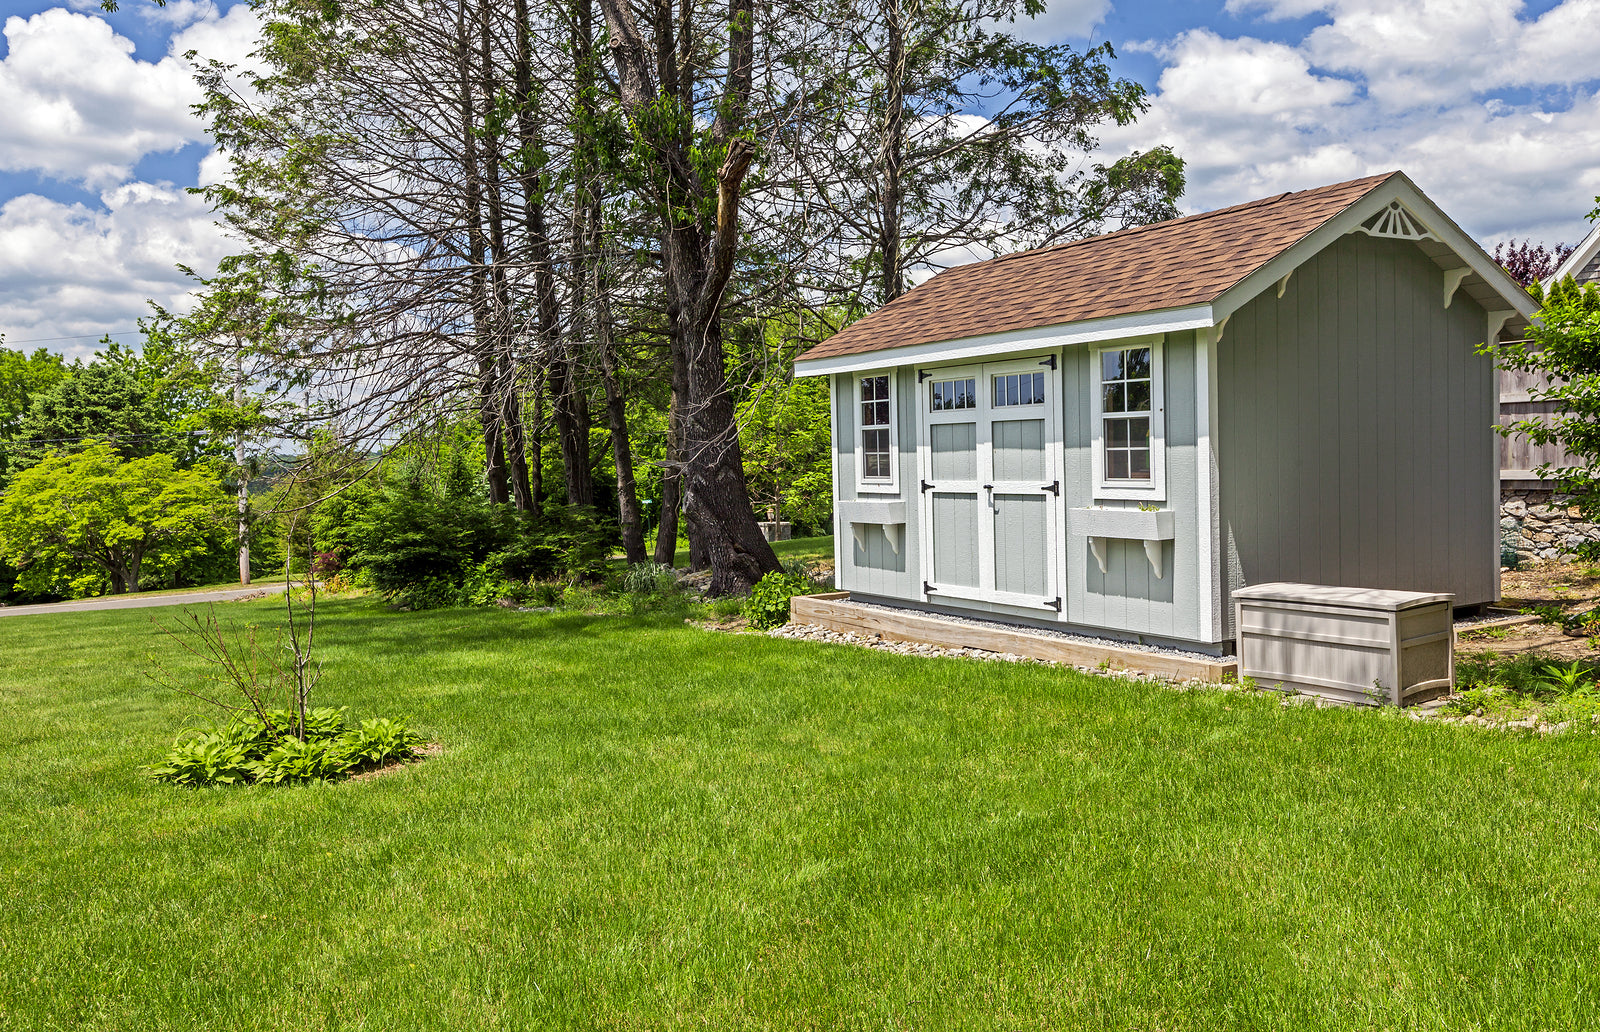
From planning and design to construction and materials, we'll walk you through every step of the process to help you create a beautiful shed.
Step 7: Interior Finishes
Insulation
- To measure how much insulation you need, measure the linear feet around the entire room, and multiply it by the height of the room to get your square footage.
- Clean the stud cavities from dirt and debris.
- Look for any gaps or large cracks and fill with expanding foam (Great Stuff).
- Install the correct insulation required for your framing (example – R12 for 2×4 walls, R20 for 2×6 walls, R40 for ceilings).
- Consider using spray foam as an alternative to batt Insulation (costlier option and contractor recommended).
- Staple vapour barrier (plastic) to the inside side of the walls.
- Seal each wall perimeter with acoustic seal, even where the plastic meets the floor.
- Use tuck tape for any holes or where overlapping plastic is present.
Drywall
- Complete all insulation, plumbing, and electrical work before you begin.
- Use the same measuring technique for drywall as for insulation.
- Drywall your ceiling first using larger sized sheets to cover more area.
- When hanging drywall on walls, it is recommended the drywall be hung horizontally to limit the number of joints along the wall.
- Mark the stud location on the ceiling and the floor. This will help you locate the studs when they are covered up (next).
- Starting in one corner, keep the drywall ½” off the floor and attach with drywall screws or nails. Place the screws or nails 6” apart (approximately 36 screws/sheet).
- Continue attaching sheets of drywall to the walls working your way around the lower half of the wall. Hang the upper half, making sure the ends of the sheets don’t line up with the lower joints.
- Use a 6” taping knife to apply a light covering of drywall compound to the joints (called ‘mudding’).
- Press the drywall tape onto the compound and, using your taping knife, gently smooth out the tape.
- Cover the tape with more compound and let it dry overnight.
- Sand the compound to create a smooth surface to prime and paint your drywall in the shed
Insulating the Shed/Workshop
4 Common Drywall Mistakes

Visual Learner? We get it.
We get it. Turkstra TV is full of helpful videos to get you up and running on your next home improvement project.
Our Coaches have your back
Need help? Talk to our professional coaches - it's free.
Get preferred pricing & exclusive promos with Build-it-Better.
Receive exclusive, members-only discounts on select products each month!

